
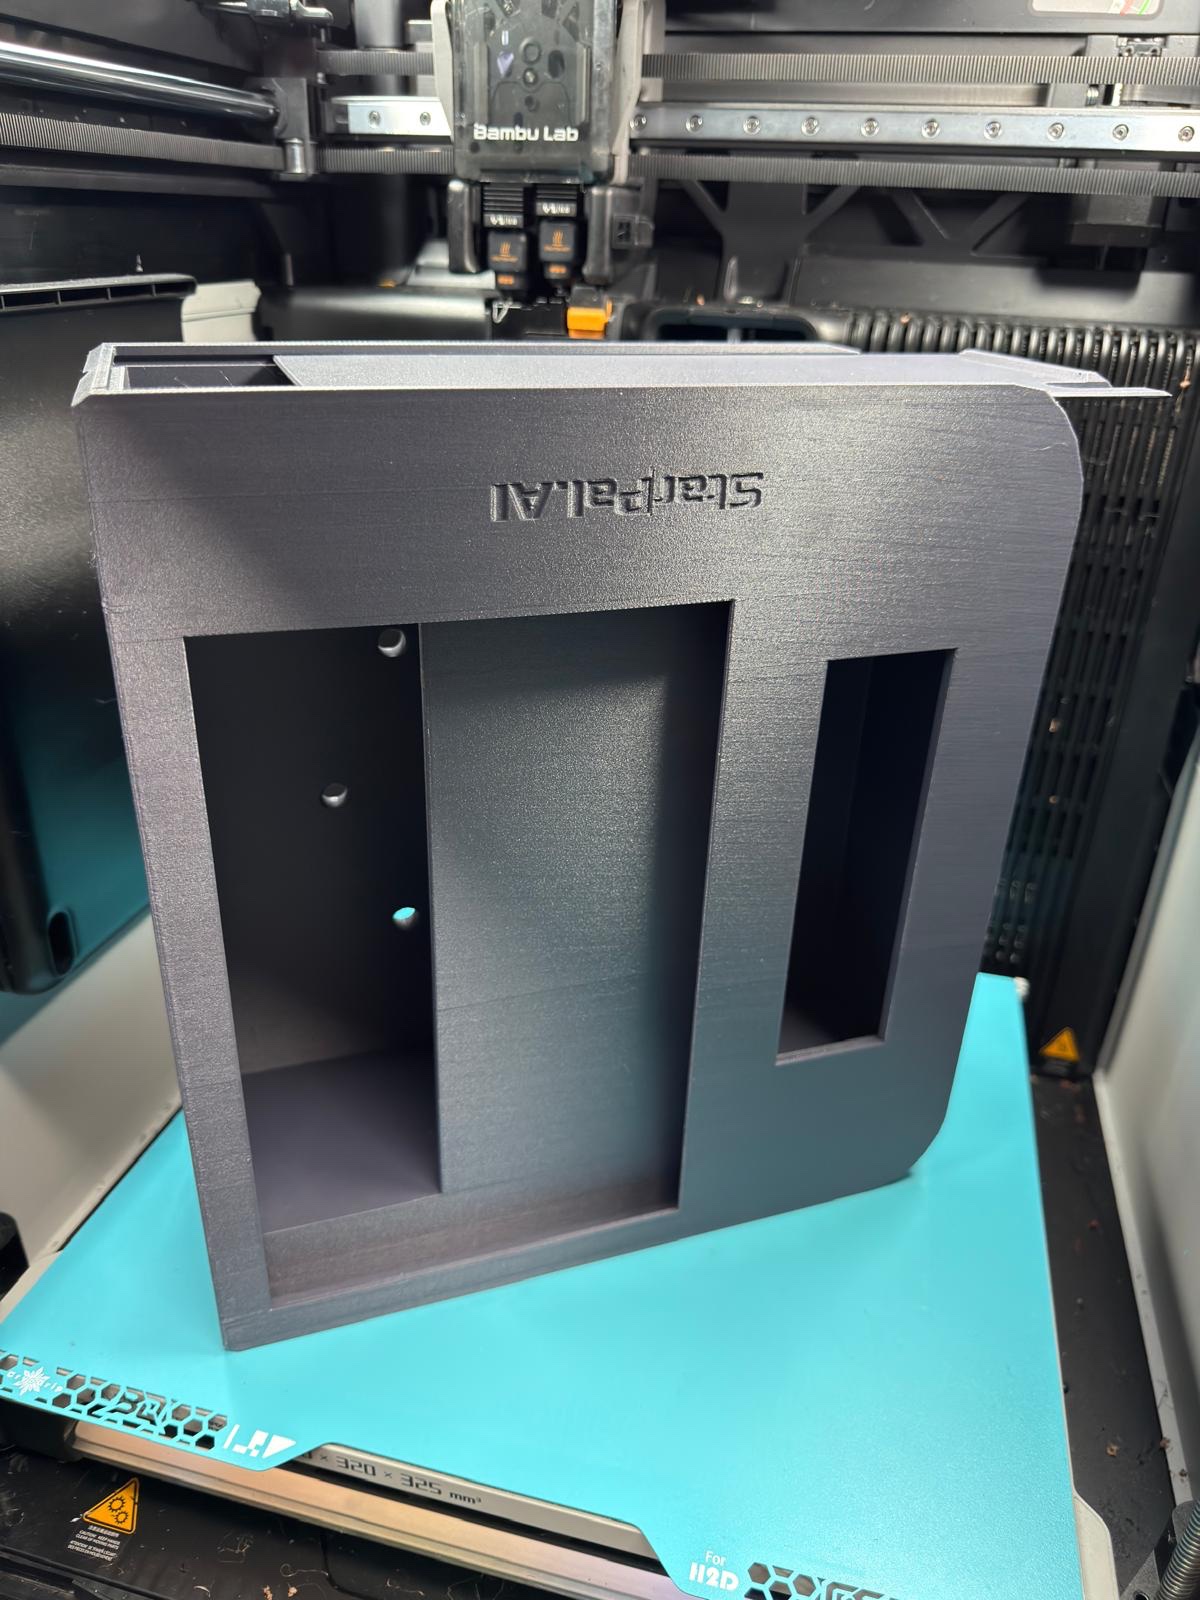
Start with a physical prototype
The first request was for a case and separate lid, made from files supplied by the customer. The original design included buckles intended to strap the case to a monitor. Because this was a prototype, we printed it in PLA so the customer could assess the shape and handling quickly.
That test did its job: it revealed that the case was too small and too fragile for the intended use. The customer enlarged the model and thickened the handles, then sent us revised files. We checked and printed the updates rather than treating the first version as a final product.
Change the material as the brief changes
The next cases moved to black PETG. The conversation compared standard PETG with fibre-filled alternatives before the customer chose PETG for the early revisions. Later accepted orders specified PETG-CF for further versions. Material choice followed the evolving requirement and budget; we did not treat any filament name as a substitute for testing the part in use.
The customer continued to supply the CAD. Our work was to check printability, prepare the files for production, print the parts, remove supports where needed and deliver the physical cases.
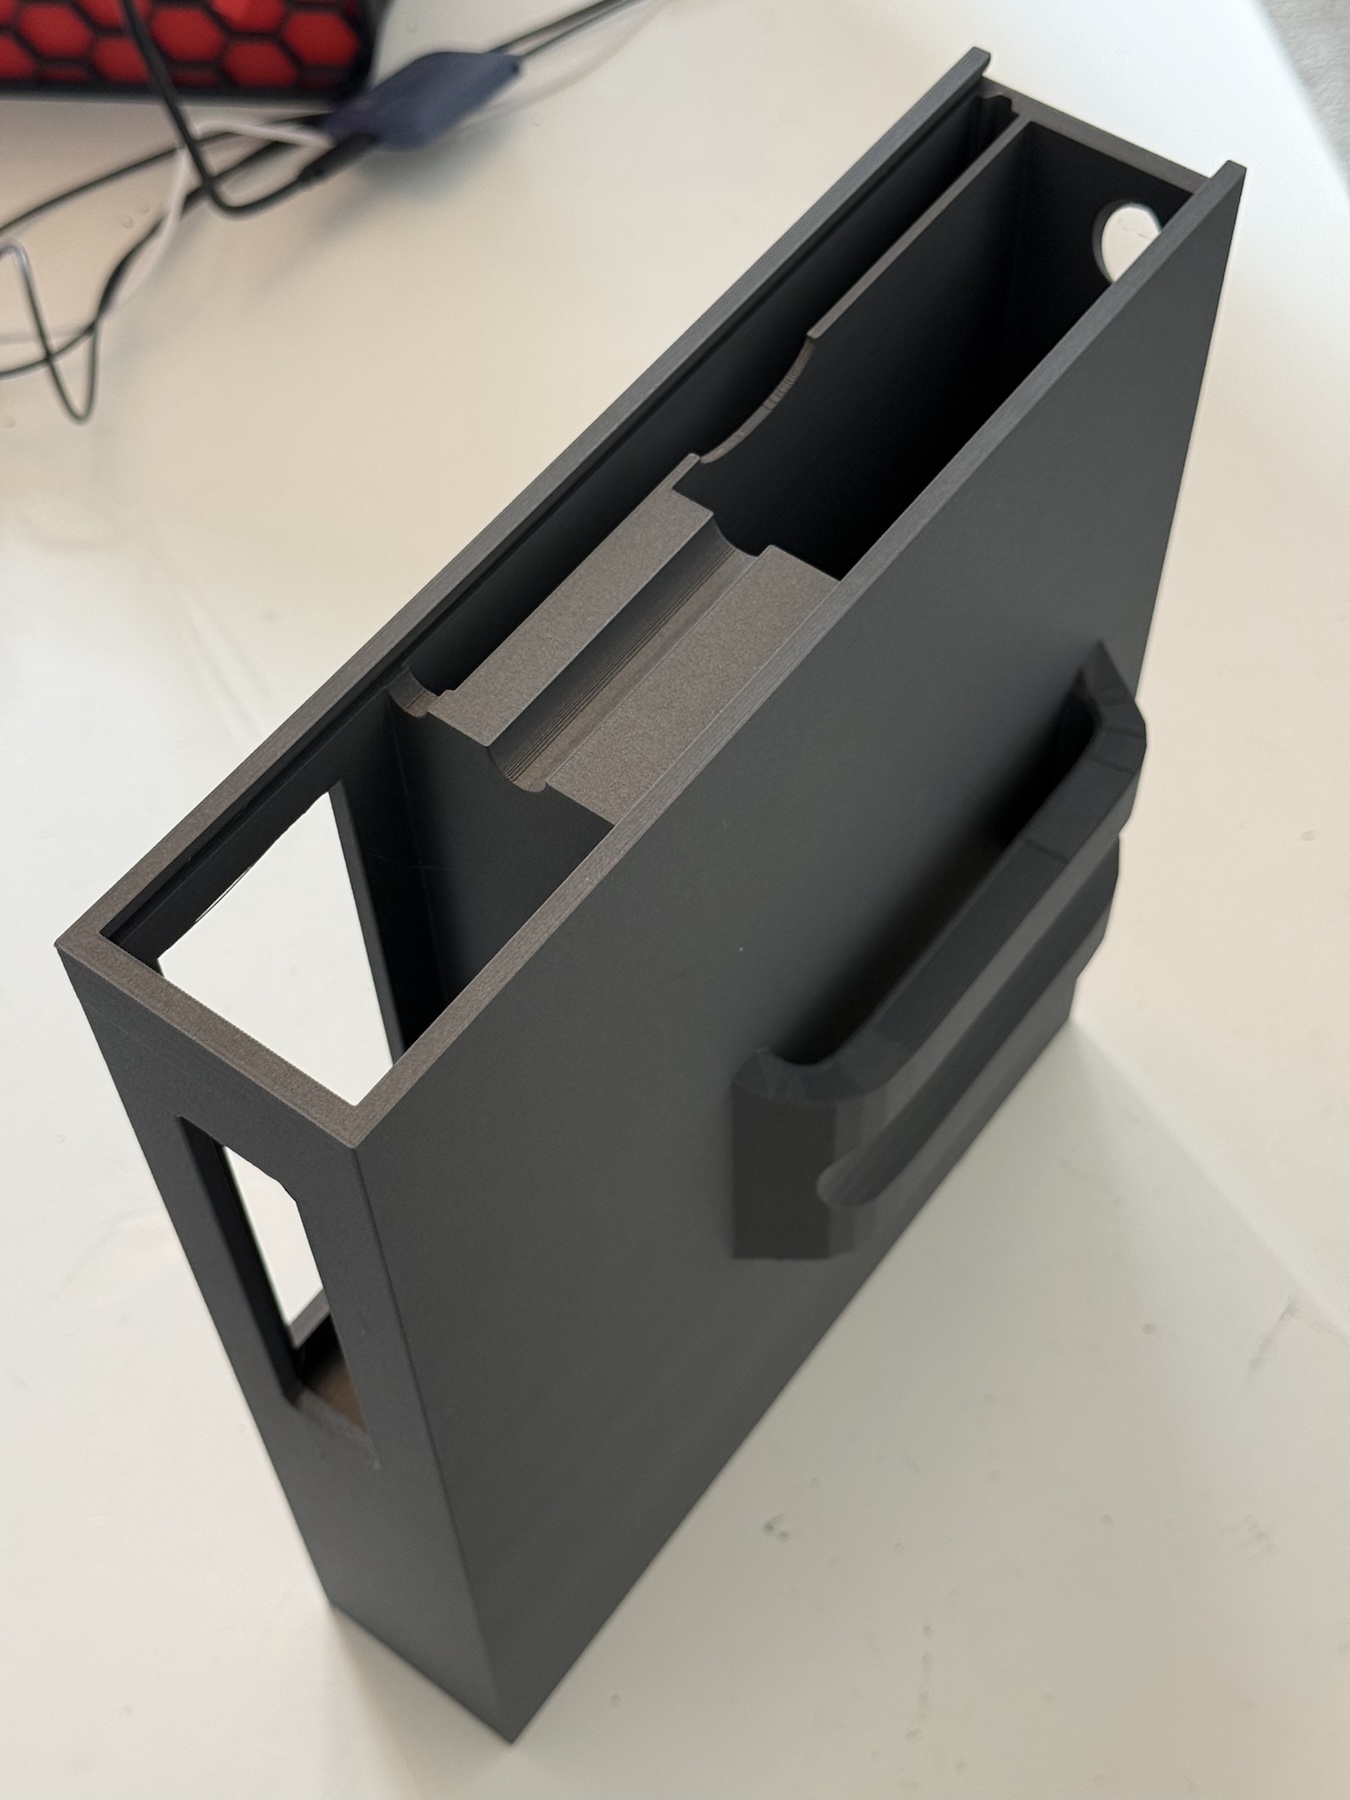
Adapt the mounting, not just the box
Across the repeat orders, the files changed from monitor straps to a vertical-pole version, a case for U-locks, a suction-cup version and later angled or hanging arrangements. Some orders were for a case and lid; others added a plate or arm. These were distinct customer-supplied designs, not copies of a single unchanged model.
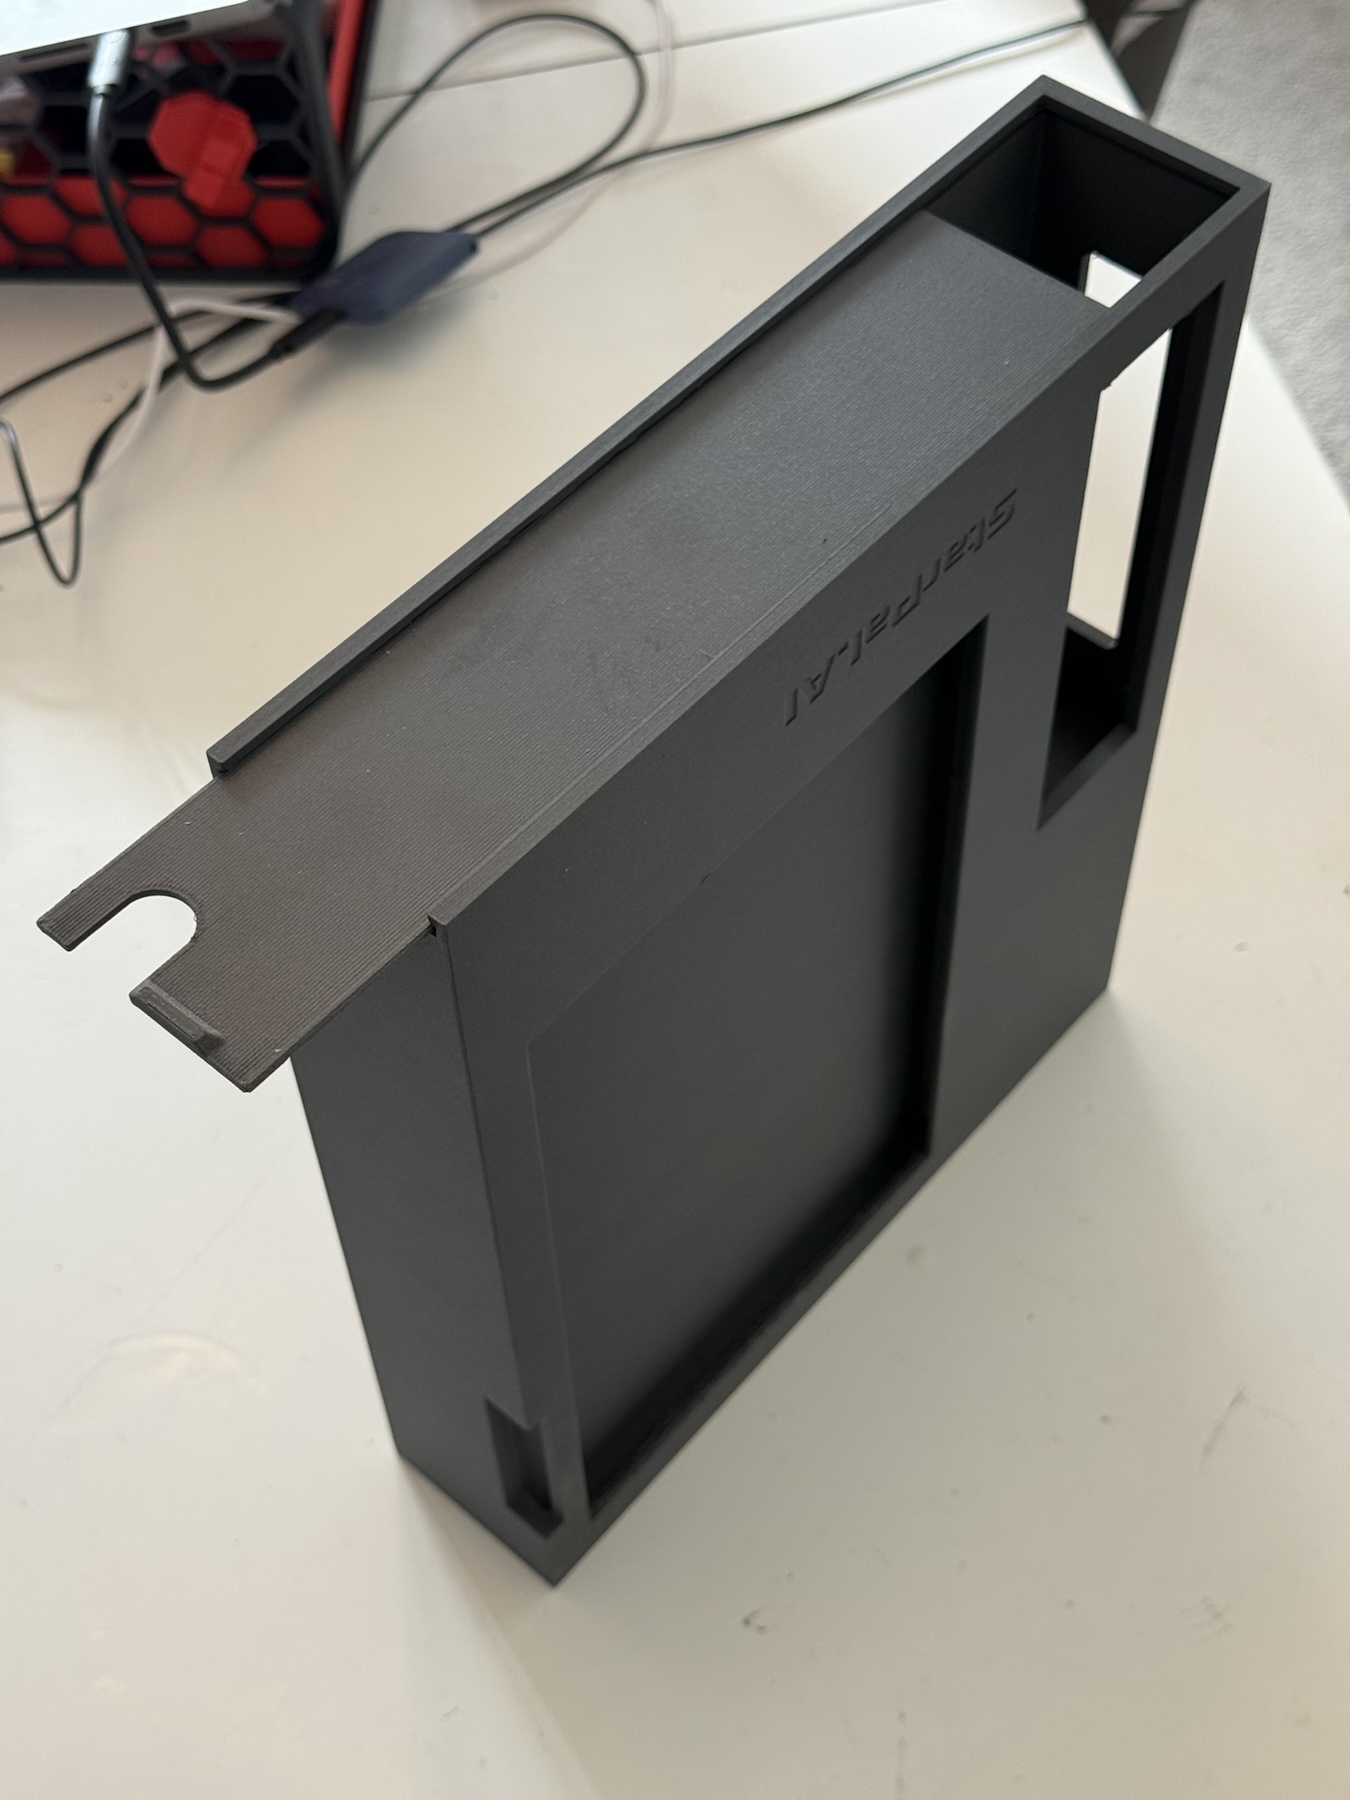
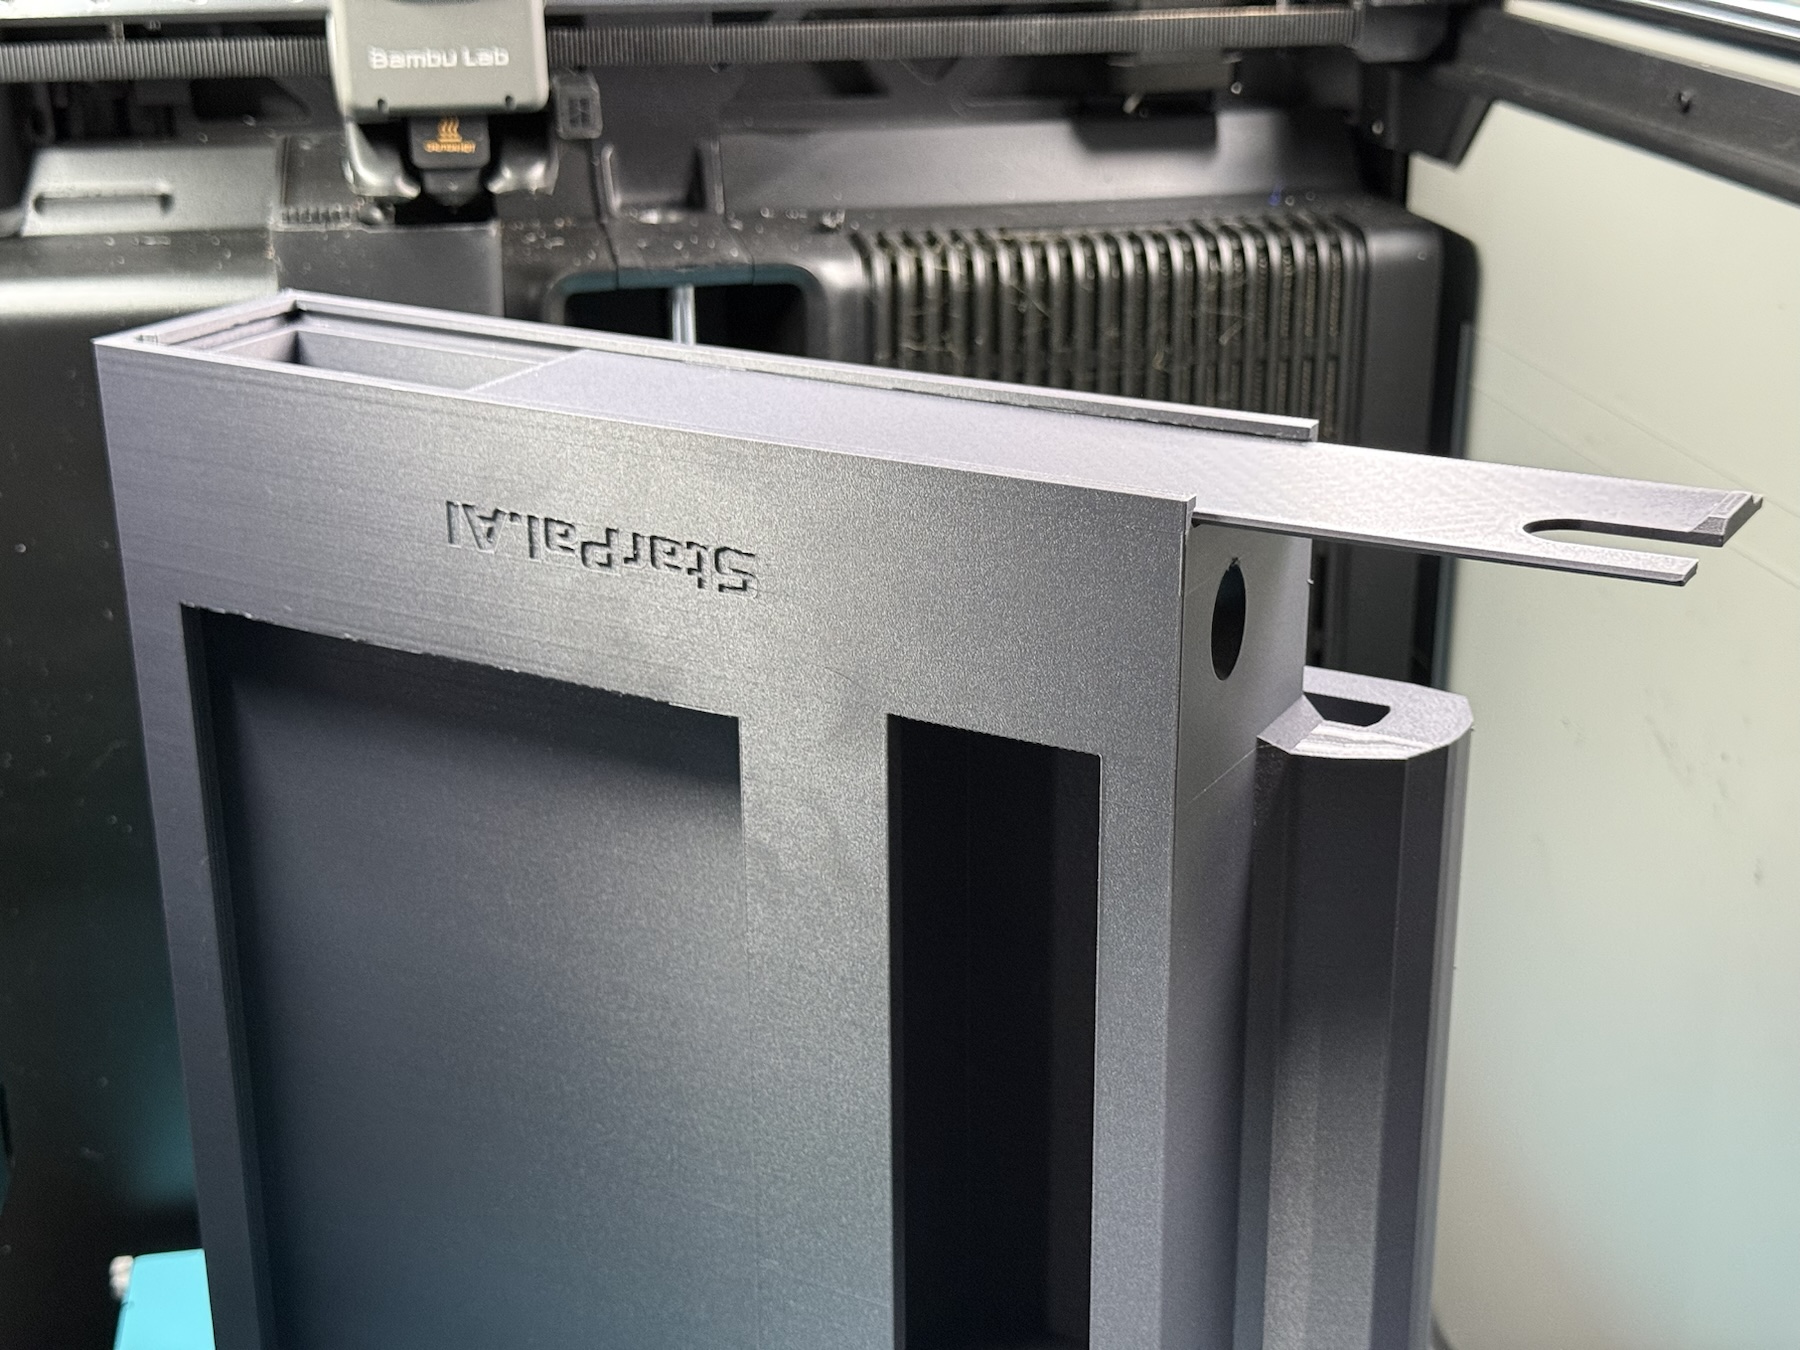
What the series demonstrates
The useful outcome was an ongoing manufacturing loop: test a real part, update the files, choose the appropriate material, then print the next variation. The buyer returned with further versions after the initial prototype. We have not independently verified the final installation or made performance claims for the enclosures.